You know how some recipes just transport you? This classic apple crisp recipe does that for me. I remember seeing a version on TV years ago, probably while I was half-dozing on the couch, and thinking, “Wait, that looks easy enough for me to make.” My kitchen, bless its chaotic heart, often feels like a science experiment gone slightly awry, but this dish? It’s forgiving. It smells like all the best autumn memories, even if it’s the middle of July. There’s something so comforting about tender, spiced apples bubbling under a golden, crunchy oat topping. It just feels like a hug, honestly.
My first attempt at this classic apple crisp recipe was a bit of a disaster, I won’t lie. I forgot to peel some of the apples (oops!) and the topping was more like a sandy crumble than a glorious golden crown. But even then, the taste was there, buried under my rookie mistakes. It taught me that sometimes, you just gotta roll with the punches, and even a slightly imperfect apple crisp is still pretty delicious. That’s the beauty of a homestyle bake, right?

Ingredients
- Apples (Granny Smith, Honeycrisp, Fuji): These guys are the stars! I love a mix, usually a tart Granny Smith to cut through the sweetness and a Honeycrisp for that perfect texture. Don’t use mushy apples, seriously.
- All-Purpose Flour: Helps thicken the apple filling a bit and gives the topping its structure. I’ve tried whole wheat once, it worked, kinda, but regular flour just has that classic feel.
- Granulated Sugar & Brown Sugar: A sweet duo! Granulated for the apples, brown sugar for that deep, molasses-y flavor in the topping. Don’t skimp, but also don’t go overboard, balance is key.
- Unsalted Butter (cold): This is crucial for the topping’s crispiness. Cold butter means less melting too fast, which leads to flakier, crunchier bits. I once used melted butter, and it turned into a sad, dense crust. Learn from my mistakes!
- Rolled Oats: The heart of that glorious crumble topping. They add texture and a lovely nutty flavor. Quick oats work in a pinch, but rolled oats give it that rustic, chewy bite that’s just superior.
- Cinnamon & Nutmeg: These are your flavor boosters, bringing all those warm, cozy vibes. I always add a little extra cinnamon because, well, why not? Freshly grated nutmeg? Yes, please!
- Lemon Juice: A splash brightens the apples and keeps them from browning too fast. It’s a small touch, but it makes a difference, stopping things from getting too cloyingly sweet.
- Salt: Just a pinch, to balance all the sweetness. It’s amazing how a tiny bit of salt can make everything taste more apple-y.
Instructions
- Prep the Apples:
- First up, grab your apples! I usually peel, core, and slice them into about half-inch pieces. Don’t make them too thin or they’ll turn to mush, and too thick means they won’t soften enough. Toss them in a big bowl with the granulated sugar, a tablespoon of flour, a good dash of cinnamon, a pinch of nutmeg, and that splash of lemon juice. Give it all a good mix until every apple slice is coated. I love how the kitchen starts smelling like autumn already at this stage, even before it hits the oven.
- Whip Up the Topping:
- Now for the best part the crumble! In another bowl, combine the remaining flour, both sugars (brown and granulated), the rolled oats, more cinnamon, and a tiny pinch of salt. Give it a whisk. Then, cut in your cold butter. I use my fingertips, squishing it until it looks like coarse crumbs with some pea-sized pieces remaining. This is where I always get my hands a little messy, but it’s worth it. Don’t overmix, or you’ll lose that crumbly texture. Pop this bowl in the fridge for about 10 minutes while you get your baking dish ready, a little chill helps it stay crisp!
- Assemble the Classic Apple Crisp:
- Grab a 9×13 inch baking dish. Pour your spiced apple mixture evenly into the bottom. It should look like a lovely, slightly mounded pile of future deliciousness. Then, pull that chilled topping out of the fridge and sprinkle it generously over the apples. Make sure it’s spread out pretty evenly, covering all those lovely fruit bits. I sometimes leave a few bigger clumps of topping because those get extra crispy, yum!
- Bake to Golden Perfection:
- Preheat your oven to 375°F (190°C). Slide that dish into the hot oven and let it bake for about 45-55 minutes. You’re looking for the apples to be tender and bubbly around the edges, and that glorious topping should be a beautiful golden brown. If the topping starts getting too dark too fast, you can tent it loosely with foil. Honestly, the smell filling your kitchen during this step is just everything.
- Check for Doneness:
- To check if your classic apple crisp recipe is ready, gently insert a knife or skewer into the center of the apples. If it goes in easily, they’re perfectly tender. If there’s resistance, give it another 5-10 minutes. Sometimes I pull it out a little early because I’m impatient, and then realize the apples needed just a touch more time. So, resist the urge to peek too much, let it do its thing!
- Cool and Serve:
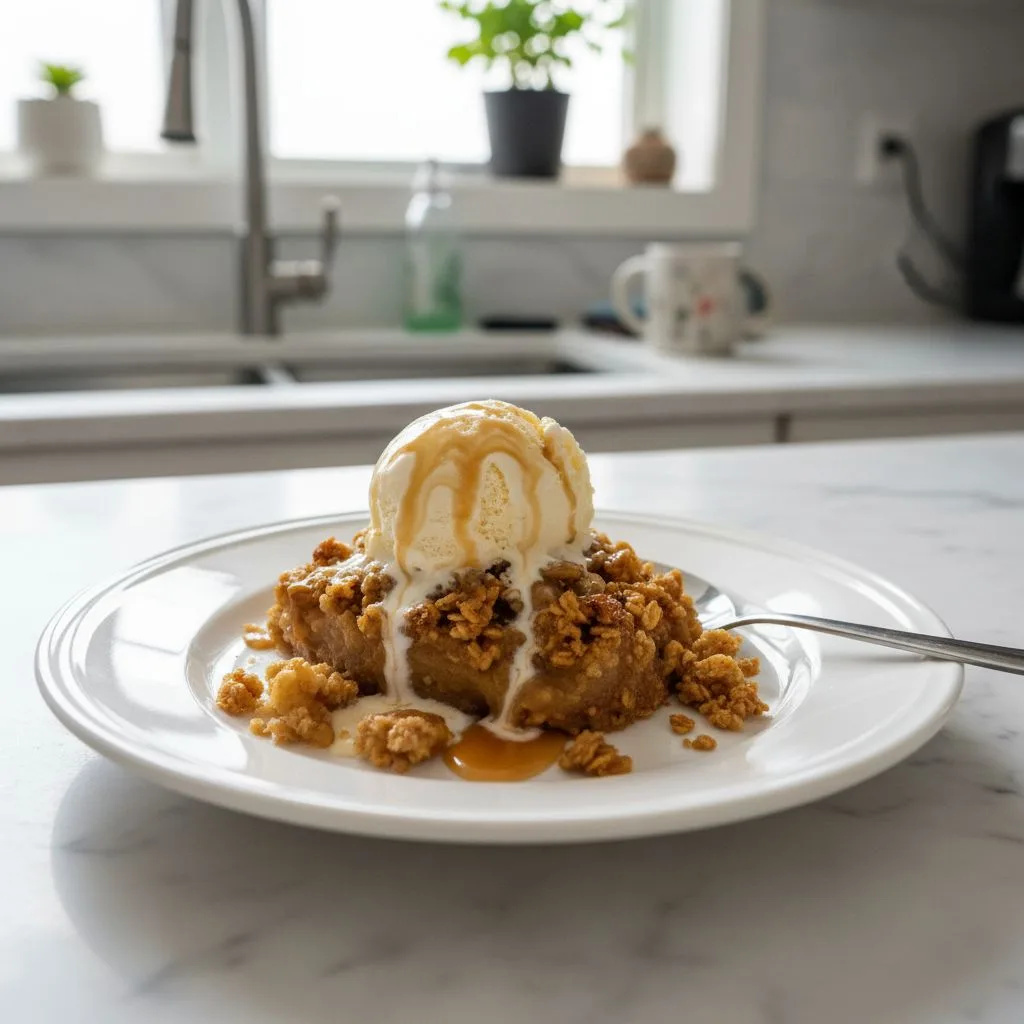
- Once it’s baked to perfection, pull it out of the oven. Now, this is the hardest part: let it cool for at least 15-20 minutes. Those bubbling juices need a moment to settle, otherwise, it’ll be a runny mess. Trust me, I’ve burned my tongue many times trying to dig in too soon. Serve warm with a scoop of vanilla bean ice cream or a dollop of whipped cream. That warm-cold contrast? Chef’s kiss!
Making this classic apple crisp recipe always brings a bit of happy chaos to my kitchen. Flour dusts the counter, sugar sprinkles the floor, but the end result is always worth it. There’s something so satisfying about pulling a bubbly, golden-brown dish from the oven, knowing you made that comforting magic happen. It’s simple, it’s rustic, and it never fails to make everyone smile.
Storing Your Classic Apple Crisp Recipe
Okay, so you’ve got leftovers of this delicious classic apple crisp recipe. Lucky you! Once it’s completely cooled (and I mean completely, otherwise you’ll get condensation making things soggy), cover it tightly with plastic wrap or foil. It’ll keep beautifully in the refrigerator for about 3-4 days. I’ve microwaved it once, and the topping got a bit chewy and the sauce separated so don’t do that lol. The best way to reheat is actually in a preheated oven at 300°F (150°C) for about 15-20 minutes, until it’s warmed through and the topping crisps up again. You can also freeze individual portions for up to 3 months, just thaw in the fridge overnight and reheat as directed. It holds up surprisingly well!

Classic Apple Crisp Recipe Ingredient Swaps
I’m all about experimenting, especially when I’m out of something. For the apples in this classic apple crisp recipe, feel free to use pears or a mix of apples and pears I tried that once, and it worked… kinda, the pears get softer quicker, so watch them! If you’re out of oats, you can use crushed graham crackers or even some leftover cereal (like cornflakes, honestly) mixed with the butter and sugar for the topping, it creates a different kind of crunch. For a gluten-free version, swap the all-purpose flour for a 1:1 gluten-free baking blend and ensure your oats are certified gluten-free. Dairy-free? Use a plant-based butter alternative, I’ve had good luck with Miyoko’s Kitchen brand. Don’t be afraid to play around, that’s how you make it truly yours!
Serving a Classic Apple Crisp Recipe
This classic apple crisp recipe is amazing on its own, but let’s be real, a warm apple crisp practically begs for a companion. My favorite pairing? A big scoop of good quality vanilla bean ice cream that slowly melts into the warm, spiced apples that warm-cold contrast is just divine. A dollop of homemade whipped cream, lightly sweetened, is also a fantastic choice if you want something a little less rich. For a cozy evening, I love serving it with a mug of hot cider or even a spiced chai latte. This dish and a rom-com? Yes please. It’s also surprisingly good with a sharp cheddar cheese slice, if you’re feeling adventurous and want a sweet and savory vibe!
The Story Behind Classic Apple Crisp
The apple crisp, or apple crumble, has roots in both British and American baking traditions, especially during wartime when pastry crusts for pies were harder to make due to rationing. Crisps and crumbles offered a simpler, more economical way to enjoy fruit desserts with a satisfying topping. For me, this classic apple crisp recipe feels like a direct link to that heritage of resourceful, comforting home cooking. My grandma used to make something similar, though hers involved a lot more butter (which, let’s be honest, is never a bad thing!). It’s a dish that speaks of simple pleasures, harvest bounty, and gathering around the table. It’s not fancy, but it’s real, and that’s why it’s always been special to me.
So there you have it, my take on a classic apple crisp recipe that brings so much joy. It’s imperfectly perfect, just like life (and my kitchen). The way the apples soften and the topping gets that golden, buttery crunch… it’s just pure magic. I hope you give it a try and maybe even make some of your own happy kitchen memories. Don’t forget to tell me how your version turns out!

Frequently Asked Questions About This Classic Apple Crisp Recipe
- → Classic apple crisp: can I make it ahead?
Yes, you totally can! I often prep the apple mixture and the topping separately, then store them in the fridge. Assemble and bake when you’re ready. It saves so much time and tastes just as fresh, honestly.
- → What apples work best for classic apple crisp?
I swear by a mix! Granny Smith for tartness and Honeycrisp or Fuji for sweetness and texture. Avoid Red Delicious, they just get too mushy. My kitchen disaster taught me that!
- → Troubleshooting a soggy classic apple crisp?
A soggy crisp usually means too much moisture from the apples or not enough flour in the topping. Make sure your apples are well-drained, and don’t skimp on that little bit of flour in the filling, it helps. Also, cold butter in the topping is key!
- → Storing leftover classic apple crisp?
Once cooled, cover tightly and refrigerate for up to 3-4 days. Reheat in the oven, not the microwave, to keep that topping crispy. Trust me, I made that mistake once!
- → Customizing your classic apple crisp?
Absolutely! I love adding a handful of chopped walnuts or pecans to the topping for extra crunch. You can also mix in a few berries with the apples for a different flavor twist. Go wild!

Classic Apple Crisp Recipe: Homestyle Bake
- Prep Time: 20 Minutes
- Cook Time: 45 Minutes
- Total Time: 65 Minutes
- Yield: 8 Servings 1x
- Category: Dinner Recipes
Description
This classic apple crisp recipe, inspired by The Pioneer Woman, delivers warm spices and tender apples under a crispy oat topping. Pure comfort!
Ingredients
- Apple Filling:
- 6 medium apples (Granny Smith, Honeycrisp, Fuji mix), peeled, cored, and sliced (about 6–7 cups)
- 1/4 cup granulated sugar
- 1 tbsp all-purpose flour
- 1 tsp ground cinnamon
- 1/4 tsp ground nutmeg
- 1 tbsp fresh lemon juice
- Crispy Topping:
- 1 cup all-purpose flour
- 1/2 cup granulated sugar
- 1/2 cup packed light brown sugar
- 1 cup rolled oats (not instant)
- 1 tsp ground cinnamon
- 1/2 tsp ground nutmeg
- 1/4 tsp salt
- 1/2 cup (1 stick) unsalted butter, cold and cut into small pieces
- Flavor Boosters:
- Pinch of flaky sea salt (for topping, optional)
- 1 tbsp bourbon or apple brandy (optional, for apples)
- Optional Extras:
- 1/2 cup chopped walnuts or pecans (for topping)
- Vanilla bean ice cream or whipped cream (for serving)
Instructions
- Prep the Apples:: First up, grab your apples! I usually peel, core, and slice them into about half-inch pieces. Don’t make them too thin or they’ll turn to mush, and too thick means they won’t soften enough. Toss them in a big bowl with the granulated sugar, a tablespoon of flour, a good dash of cinnamon, a pinch of nutmeg, and that splash of lemon juice. Give it all a good mix until every apple slice is coated. I love how the kitchen starts smelling like autumn already at this stage, even before it hits the oven.
- Whip Up the Topping:: Now for the best part—the crumble! In another bowl, combine the remaining flour, both sugars (brown and granulated), the rolled oats, more cinnamon, and a tiny pinch of salt. Give it a whisk. Then, cut in your *cold* butter. I use my fingertips, squishing it until it looks like coarse crumbs with some pea-sized pieces remaining. This is where I always get my hands a little messy, but it’s worth it. Don’t overmix, or you’ll lose that crumbly texture. Pop this bowl in the fridge for about 10 minutes while you get your baking dish ready; a little chill helps it stay crisp!
- Assemble the Classic Apple Crisp:: Grab a 9×13 inch baking dish. Pour your spiced apple mixture evenly into the bottom. It should look like a lovely, slightly mounded pile of future deliciousness. Then, pull that chilled topping out of the fridge and sprinkle it generously over the apples. Make sure it’s spread out pretty evenly, covering all those lovely fruit bits. I sometimes leave a few bigger clumps of topping because those get extra crispy, yum!
- Bake to Golden Perfection:: Preheat your oven to 375°F (190°C). Slide that dish into the hot oven and let it bake for about 45-55 minutes. You’re looking for the apples to be tender and bubbly around the edges, and that glorious topping should be a beautiful golden brown. If the topping starts getting too dark too fast, you can tent it loosely with foil. Honestly, the smell filling your kitchen during this step is just *everything*.
- Check for Doneness:: To check if your classic apple crisp recipe is ready, gently insert a knife or skewer into the center of the apples. If it goes in easily, they’re perfectly tender. If there’s resistance, give it another 5-10 minutes. Sometimes I pull it out a little early because I’m impatient, and then realize the apples needed just a touch more time. So, resist the urge to peek too much, let it do its thing!
- Cool and Serve:: Once it’s baked to perfection, pull it out of the oven. Now, this is the hardest part: let it cool for at least 15-20 minutes. Those bubbling juices need a moment to settle, otherwise, it’ll be a runny mess. Trust me, I’ve burned my tongue many times trying to dig in too soon. Serve warm with a scoop of vanilla bean ice cream or a dollop of whipped cream. That warm-cold contrast? Chef’s kiss!


