Introduction to Chocolate Cheesecake Bars
As a passionate home cook, I can confidently say that my love for Chocolate Cheesecake Bars knows no bounds. Every time I whip up a batch, my kitchen transforms into a haven of rich, chocolatey aromas and creamy indulgence. These bars are not just a dessert; they are a delightful experience that combines the velvety texture of cheesecake with the deep flavors of chocolate, all nestled in a buttery crust.
What makes these Chocolate Cheesecake Bars truly special is their versatility. Whether I’m hosting a dinner party or just craving something sweet after a long day, they always hit the spot. Each bite melts in your mouth, offering a excellent balance of sweetness and richness that keeps everyone coming back for more. Plus, they are easy to prepare, which means I can spend less time in the kitchen and more time enjoying the company of my loved ones.

Moreover, these bars are excellent for sharing. I often make a double batch to ensure there’s enough to go around, and I love watching friends’ faces light up with joy as they take their first bite. The combination of the crunchy crust, creamy filling, and decadent chocolate creates a symphony of flavors that is just irresistible. Trust me, once you try this recipe for Chocolate Cheesecake Bars, you’ll want to keep it in your repertoire forever!
Why You’ll Love This Chocolate Cheesecake Bars
Let me tell you why you’ll absolutely love these Chocolate Cheesecake Bars. First and foremost, they are the excellent combination of rich chocolate and creamy cheesecake. Each bite melts in your mouth, delivering a delightful balance of flavors that will make your taste buds dance with joy. Trust me, once you take a bite, you’ll be hooked!
One of the best features of these Chocolate Cheesecake Bars is their simplicity. As a busy home cook, I appreciate recipes that don’t require hours in the kitchen. With just a handful of ingredients and a straightforward process, you can whip these up in no time. They’re fantastic for those days when you want to impress guests without spending your entire afternoon baking.
The versatility of these bars is another reason to fall in love with them. They are excellent for any occasion, whether it’s a casual family gathering or a more formal celebration. Additionally, they can be made ahead of time and stored in the fridge, making them a convenient dessert option. How nice is that to have a tasty treat ready to serve at a moment’s notice?
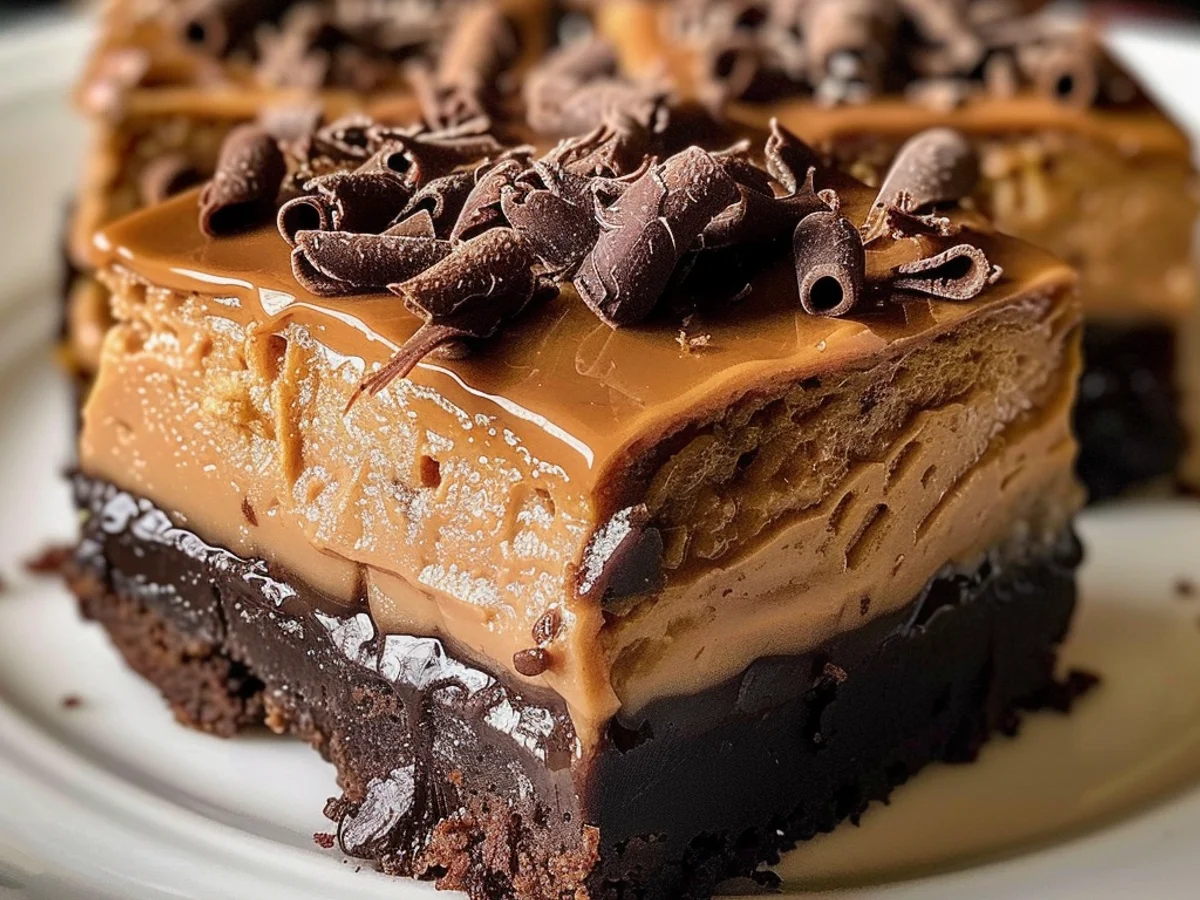
The texture of these Chocolate Cheesecake Bars is a marvel in itself. The crust is buttery and crumbly, while the cheesecake layer is smooth and velvety. Topped with a drizzle of chocolate ganache, they are a feast for the eyes as well. The combination of textures makes for an indulgent dessert that is sure to satisfy even the most discerning chocolate lover.
Lastly, the feedback I’ve received from friends and family has been overwhelmingly positive. People just can’t resist these decadent bars! So, if you’re looking for a dessert that combines ease, flavor, and elegance, these Chocolate Cheesecake Bars are your answer. Get ready to bake your way to dessert bliss!
Ingredients for Chocolate Cheesecake Bars
When it comes to creating my favorite dessert, Chocolate Cheesecake Bars, gathering the right ingredients is essential for achieving that excellent balance of creamy and chocolatey goodness. Each ingredient plays a vital role, and I can’t wait to share them with you!
First, let’s talk about the crust. For the base of these Chocolate Cheesecake Bars, I usually opt for graham cracker crumbs. They provide a delightful crunch and a hint of sweetness that complements the rich filling beautifully. If you’re feeling adventurous, chocolate cookie crumbs can be a tasty alternative, adding an extra layer of chocolate flavor.
Next, we need unsalted butter. This ingredient binds the crust together and adds a luscious richness. Be sure to melt it before mixing it with the crumbs for an even texture.
Moving on to the star of the show, the cheesecake filling! It starts with cream cheese, which gives that signature creamy texture we all love. I always choose full-fat cream cheese for the best results, but you can use reduced-fat if you prefer. To sweeten things up, I add sugar, which balances the tanginess of the cream cheese perfectly.
For an extra touch of decadence, I incorporate semi-sweet chocolate. Melting this chocolate and folding it into the cream cheese creates that rich chocolate flavor that makes these bars irresistible. If you’re a dark chocolate fan, feel free to use dark chocolate instead!
To enhance the flavors even further, I add vanilla extract and a pinch of salt. The vanilla brings warmth, while the salt elevates the sweetness, making each bite more satisfying.
Finally, for a little added texture, you might consider folding in some chocolate chips into the filling. This optional step makes the Chocolate Cheesecake Bars even more indulgent, but they are tasty even without it!
Now that you know what goes into these delectable Chocolate Cheesecake Bars, let’s prepare to turn these ingredients into something magical!
How to Make Chocolate Cheesecake Bars
- Preheat your oven to 325°F (160°C). This is an essential step, as a properly preheated oven will ensure that your Chocolate Cheesecake Bars bake evenly. While the oven warms up, gather all your ingredients to make the process smoother.
- Prepare the crust. In a large mixing bowl, combine 1 ½ cups of graham cracker crumbs, ½ cup of granulated sugar, and ½ cup of melted unsalted butter. Stir until the mixture resembles wet sand. Press this mixture firmly into the bottom of a greased 9×13 inch baking pan. This crust will provide a delightful crunch that perfectly complements the creamy filling.
- Bake the crust for about 10 minutes, until set and lightly golden. This step is crucial as it helps the crust hold its shape once the filling is added. While it bakes, let’s move on to the cheesecake filling.
- Make the filling. In a large mixing bowl, beat 16 ounces of cream cheese until smooth and creamy. This can take about 2-3 minutes. Next, gradually add 1 cup of granulated sugar and continue mixing until combined. The cream cheese should be fluffy and free of lumps, which is key to achieving those luscious Chocolate Cheesecake Bars.
- Add the eggs. Beat in 3 large eggs one at a time, making sure each is fully incorporated before adding the next. This ensures a rich, velvety texture. Then, mix in 1 teaspoon of vanilla extract and 1 cup of melted semi-sweet chocolate until the mixture is uniform. The chocolate should be slightly cooled before adding to avoid cooking the eggs.
- Pour the filling over the baked crust. Use a spatula to spread it evenly, ensuring every inch of the crust is covered. The contrast between the creamy chocolate filling and the crunchy base is what makes these Chocolate Cheesecake Bars so irresistible!
- Bake for an additional 25-30 minutes, or until the edges are set and the center has a slight jiggle. It’s important not to overbake, as this can lead to cracks in your bars. Once done, remove them from the oven and let them cool at room temperature.
- Chill the bars in the refrigerator for at least 4 hours, or overnight if you can wait! This step is crucial as it allows the flavors to meld beautifully and enhances the overall texture.
- Slice and serve. Once chilled, lift the bars out of the pan using the parchment paper overhang. Cut them into squares and enjoy the deliciously rich Chocolate Cheesecake Bars. You can garnish with whipped cream or chocolate shavings for an extra touch!
With each step, you’ll find that making these Chocolate Cheesecake Bars is not only straightforward but also incredibly rewarding. Trust me, once you take that first bite, you’ll be hooked!
Tips for Success
As a passionate home cook who has whipped up these Chocolate Cheesecake Bars numerous times, I can assure you that a few simple tips can elevate your baking experience. Here are my top recommendations to ensure your cheesecake bars turn out perfectly every time:
- Use room temperature ingredients: Allowing your cream cheese, eggs, and sour cream to come to room temperature helps them blend smoothly, resulting in a creamy texture.
- Don’t overmix: When combining your ingredients, mix just until blended. Overmixing can introduce too much air, causing cracks in your Chocolate Cheesecake Bars.
- Line your baking pan: Use parchment paper to line your baking dish. This makes it easier to lift the bars out once they cool, ensuring clean cuts and beautiful presentation.
- Cool completely: Once baked, let the bars cool in the pan before transferring them to the refrigerator. This helps them set properly and enhances the flavors.
- Chill before serving: For the best texture and flavor, refrigerate your Chocolate Cheesecake Bars for at least 4 hours, or overnight if possible. The chilling process allows the flavors to meld beautifully.
- Garnish creatively: Top your bars with whipped cream, chocolate shavings, or fresh berries for an extra touch that appeals to the eyes as well as the taste buds.
By following these tips, you’ll create Chocolate Cheesecake Bars that are not only tasty but also visually stunning. Enjoy the process, and don’t forget to savor each delightful bite!
Equipment Needed
When it comes to making the excellent Chocolate Cheesecake Bars, having the right equipment can make all the difference. I’ve perfected this recipe over the years, and I’ve found that using specific tools not only simplifies the process but also elevates the final product. Here’s what you’ll need:
- 9×9-inch baking pan: This size is ideal for baking your cheesecake bars evenly. If you don’t have one, a 9×13-inch pan will work; just adjust the baking time slightly.
- Parchment paper: Lining the pan with parchment paper makes it easy to lift the bars out once they’re set. You can also use aluminum foil, but parchment provides a non-stick surface.
- Mixing bowls: A large mixing bowl for the cheesecake batter and a medium bowl for the crust are essential. Glass or stainless steel bowls are my favorites because they’re durable and easy to clean.
- Electric mixer: A hand mixer works beautifully for this recipe. However, if you have a stand mixer, it can save you some effort while incorporating the cream cheese smoothly.
- Spatula: A rubber spatula is excellent for folding in ingredients and scraping down the sides of the bowl. It ensures that no tasty batter goes to waste!
- Measuring cups and spoons: Accurate measurements are crucial for success in baking. I recommend using dry measuring cups for the crust and liquid measuring cups for the melted butter.
- Cooling rack: Once your Chocolate Cheesecake Bars are out of the oven, placing them on a cooling rack helps them cool evenly and prevents sogginess.
With these tools in your kitchen arsenal, you’ll be well-prepared to create scrumptious Chocolate Cheesecake Bars that will impress everyone. Trust me; the right equipment truly enhances the baking experience!


