Introduction to Chocolate Hazelnut Thumbprint Cookies Recipe
As a passionate home cook, I find immense joy in creating delightful treats that bring a smile to my loved ones. One of my absolute favorites is the Chocolate Hazelnut Thumbprint Cookies Recipe. Each time I bake these cookies, I am transported to a world where rich chocolate and nutty hazelnut flavors dance together in excellent harmony. They are not just cookies; they are little bites of happiness, excellent for any occasion.
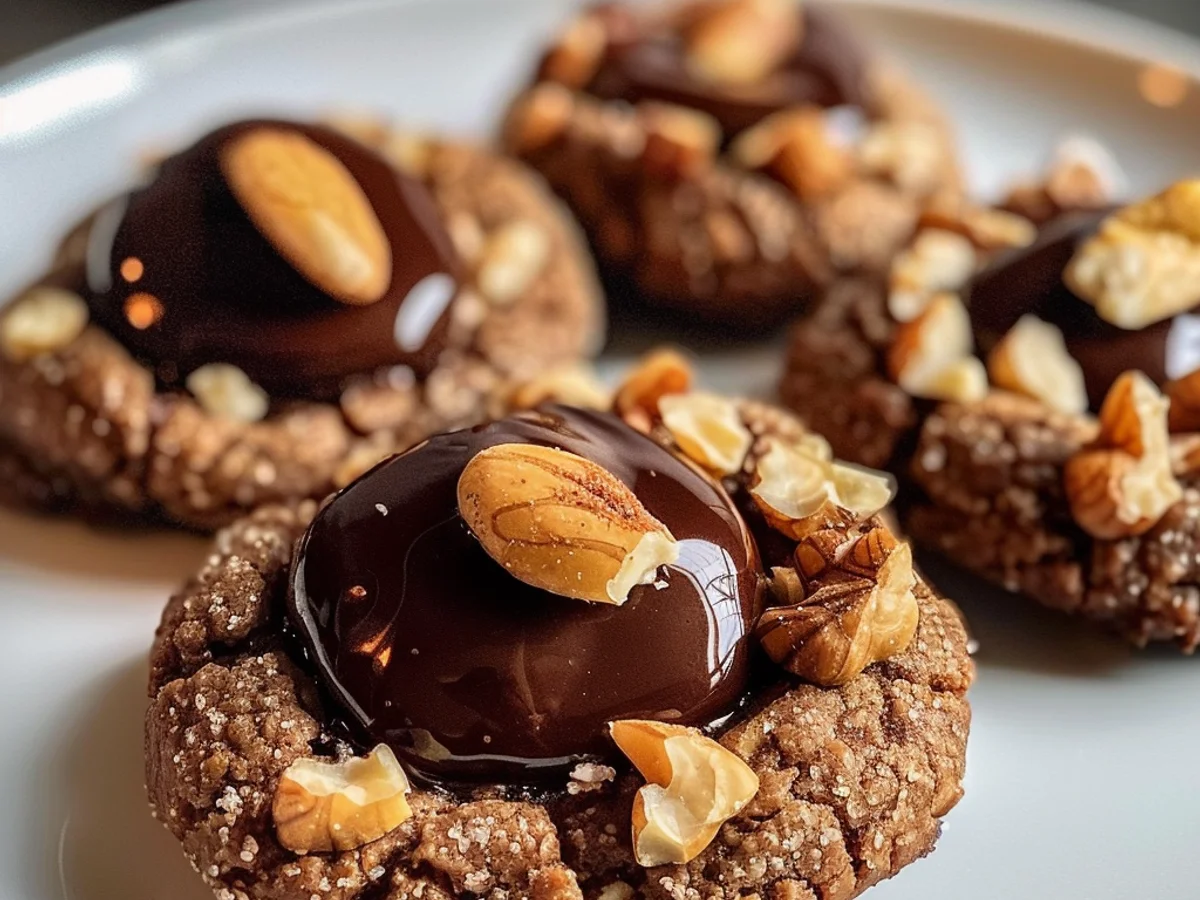
What I love most about this Chocolate Hazelnut Thumbprint Cookies Recipe is the way the warm, buttery dough cradles a luscious dollop of chocolate hazelnut spread. The contrast of textures is just divine. With a crisp exterior and a soft, melt-in-your-mouth center, these cookies never fail to impress. Plus, they are incredibly easy to make, which is a huge plus for busy bakers like me!

Whether I am hosting friends for an afternoon tea or treating my family on a cozy weekend, these cookies quickly become the star of the dessert table. The aroma of freshly baked cookies wafting through the kitchen is like a warm hug, inviting everyone to gather around and enjoy. So, if you’re looking for a cookie recipe that combines simplicity, flavor, and a touch of elegance, let me introduce you to my beloved Chocolate Hazelnut Thumbprint Cookies Recipe. Trust me, once you try them, you’ll be hooked!
Why You’ll Love This Chocolate Hazelnut Thumbprint Cookies Recipe
As someone who has spent countless hours in the kitchen, I can confidently say that this Chocolate Hazelnut Thumbprint Cookies Recipe is a true gem. The moment you take your first bite, the delightful combination of rich chocolate and nutty hazelnut will whisk you away to a world of pure bliss. Each cookie is a little masterpiece, boasting a tender texture that melts in your mouth, perfectly complemented by a luscious chocolate center.
What I love most about this recipe is its simplicity. With just a handful of ingredients, you can whip up a batch in no time. It’s excellent for busy days when you need a sweet treat without spending hours in the kitchen. Plus, the recipe is incredibly forgiving, allowing even novice bakers to achieve stunning results. The ease of preparation makes it a nice choice for both impromptu gatherings and cozy afternoons at home.
The aroma that fills your kitchen as these cookies bake is just irresistible. Trust me; your family will come running, eager to enjoy in the deliciousness that awaits. And let’s not forget the fun of making thumbprint cookies! Pressing your thumb into the dough to create a little well is not only satisfying but also adds a personal touch to each cookie. This Chocolate Hazelnut Thumbprint Cookies Recipe is not just about taste; it’s an experience that brings joy to the baking process.
In addition, these cookies are incredibly versatile. You can easily swap out the chocolate filling for your favorite jam or even a creamy hazelnut spread for an extra layer of flavor. The possibilities are endless, making this a recipe you’ll return to time and time again. Whether you’re treating yourself or sharing them with friends, these cookies are sure to impress. So, let’s dive into the ingredients and start creating a delightful batch of Chocolate Hazelnut Thumbprint Cookies that will surely become a favorite in your home!
Ingredients for Chocolate Hazelnut Thumbprint Cookies Recipe
When it comes to baking, having the right ingredients is essential, especially for my beloved Chocolate Hazelnut Thumbprint Cookies Recipe. Each component plays a vital role in creating those delightful, melt-in-your-mouth cookies that are excellent for any occasion. Below, I’ve outlined the ingredients I always use, along with some tips and substitutions to ensure your cookies turn out perfectly every time.
- All-purpose flour: This is the backbone of our cookies, providing structure. I love using unbleached all-purpose flour for a more natural flavor.
- Unsweetened cocoa powder: For a rich chocolate flavor, I use high-quality cocoa powder. It gives the cookies a deep, dark color and enhances the overall chocolate experience.
- Granulated sugar: Adding just the right amount of sweetness, sugar helps balance the bitterness of the cocoa. You can also experiment with brown sugar for added moisture and a hint of caramel flavor.
- Butter: I always opt for unsalted butter, as it allows me to control the saltiness of my cookies. It provides a rich, creamy texture that makes every bite irresistible.
- Egg: The egg acts as a binding agent, and I prefer using a large egg for the excellent consistency. It contributes to the cookies’ tenderness.
- Vanilla extract: A splash of pure vanilla extract elevates the flavor profile, adding warmth and depth. It’s a must-have in my Chocolate Hazelnut Thumbprint Cookies Recipe.
- Salt: Just a pinch of salt enhances all the flavors, making the chocolate taste even more pronounced.
- Chopped hazelnuts: These add a delightful crunch and a nutty flavor. You can toast them for an extra layer of flavor. If you’re sensitive to nuts, feel free to omit them.
- Chocolate hazelnut spread: This is the star of the show! I like using a high-quality chocolate hazelnut spread for the centers. It adds creaminess and an indulgent chocolate flavor.
As you prepare to embark on this baking adventure, remember that the quality of your ingredients can make a significant difference in your Chocolate Hazelnut Thumbprint Cookies Recipe. Each ingredient plays its part, creating that excellent harmony of textures and flavors that will have everyone asking for seconds! Now, let’s move on to the exciting part-how to make these scrumptious cookies.
How to Make Chocolate Hazelnut Thumbprint Cookies Recipe
- Preheat Your Oven: Start by preheating your oven to 350°F (175°C). This step is crucial as it ensures that our Chocolate Hazelnut Thumbprint Cookies bake evenly and acquire that excellent golden hue.
- Prepare Your Baking Sheet: Line a baking sheet with parchment paper. This not only prevents the cookies from sticking but also makes cleanup a breeze. Trust me, you’ll appreciate this when the baking is done!
- Mix the Dry Ingredients: In a medium bowl, whisk together the flour, cocoa powder, and salt. This step helps to combine all the dry ingredients thoroughly, ensuring a smooth dough. The cocoa powder adds a rich, chocolatey flavor that is essential to our Chocolate Hazelnut Thumbprint Cookies Recipe.
- Beat the Butter and Sugar: In a large mixing bowl, cream together the softened butter, granulated sugar, and brown sugar until the mixture is light and fluffy. This process usually takes about 3-5 minutes. The fluffy texture helps create tender cookies!
- Add the Eggs and Hazelnut Extract: Beat in the egg and hazelnut extract until well combined. The hazelnut extract enhances the nutty flavor and pairs beautifully with the chocolate, making these cookies irresistible.
- Combine Wet and Dry Ingredients: Gradually add the flour mixture to the butter mixture, stirring until just combined. Be careful not to overmix; we want our cookies to be soft and tender!
- Form the Cookie Dough: Using your hands, roll the dough into small balls, about 1 inch in diameter. Place them on the prepared baking sheet, spacing them about 2 inches apart. This allows room for spreading as they bake.
- Create the Thumbprint: Gently press your thumb into the center of each ball to create a small indentation. This is where the chocolate filling will go later, so make sure it’s deep enough!
- Bake the Cookies: Place the baking sheet in the preheated oven and bake for about 10-12 minutes. Keep an eye on them; you want the edges to look firm while the centers remain soft.
- Fill with Chocolate: Once baked, remove the cookies from the oven and allow them to cool for a few minutes. Then, while they are still warm, fill each thumbprint with melted chocolate hazelnut spread. This final touch adds a luscious, gooey center that makes the Chocolate Hazelnut Thumbprint Cookies Recipe truly special.
- Cool and Enjoy: Let the cookies cool completely on a wire rack. Once they are cool, they’re ready to be enjoyed! These cookies are excellent for sharing or indulging on your own.
With these steps, you’ll create tasty Chocolate Hazelnut Thumbprint Cookies that are sure to impress anyone who takes a bite. The combination of rich chocolate and toasted hazelnuts results in a flavor profile that’s just divine. Happy baking!
Tips for Success
As a passionate home cook who has made the Chocolate Hazelnut Thumbprint Cookies Recipe many times, I’ve gathered a few tips that will help ensure your cookies turn out perfectly every time. These simple yet effective pointers will elevate your baking game and make your cookies a delightful treat!
- Use fresh ingredients: The quality of your chocolate and nuts can significantly impact the flavor. Opt for high-quality chocolate and fresh hazelnuts for the best results.
- Chill the dough: After mixing, let your dough chill in the refrigerator for at least 30 minutes. This step not only makes it easier to handle but also helps your cookies maintain their shape while baking.
- Don’t skip the thumbprint: When creating the indentations, use a gentle touch. Press just enough to create a well without tearing the cookie. This will hold the chocolate filling beautifully!
- Monitor baking time: Every oven is different, so keep an eye on your cookies during the last few minutes of baking. They should be set around the edges but still soft in the center.
- Let them cool: Allow your Chocolate Hazelnut Thumbprint Cookies to cool on the baking sheet for a few minutes before transferring them to a wire rack. This helps prevent them from breaking apart.
- Store properly: Keep your cookies in an airtight container to maintain their freshness. They can last for about a week-if they last that long!
By following these tips, you’ll be well on your way to creating tasty Chocolate Hazelnut Thumbprint Cookies that will impress your family and friends. Happy baking!
Equipment Needed
When I make my beloved Chocolate Hazelnut Thumbprint Cookies Recipe, having the right equipment on hand makes the process smoother and more enjoyable. Here’s a list of essential tools that I find invaluable for creating these delightful treats, along with some practical alternatives if you’re in a pinch.
- Mixing Bowls: A set of various sizes is essential for combining ingredients. Glass or stainless steel bowls work beautifully, but any large bowl will do.
- Hand Mixer or Stand Mixer: While I love my stand mixer for its power, a simple hand mixer can achieve the same creamy consistency for your dough.
- Cookie Sheets: Non-stick or lined with parchment paper, these sheets ensure even baking. If you don’t have them, a sturdy baking pan will suffice.
- Cookie Scoop: This tool helps form uniform dough balls, but you can also use two spoons to achieve the desired size.
- Measuring Cups and Spoons: Accurate measurements are crucial. If you don’t have these, using a scale can be a great alternative.
- Silicone Spatula: excellent for mixing and scraping the bowl clean. A wooden spoon can work too, although it may take a bit more effort.
- Oven Mitts: Safety first! Protect your hands with a good pair of mitts when handling hot trays.
Having these tools ready will enhance your baking experience while making the Chocolate Hazelnut Thumbprint Cookies Recipe. Trust me, it’s all about enjoying the process as much as the tasty outcome!


