Honestly, some of my favorite kitchen memories involve a bit of chaos, usually with flour on my nose and a sticky counter. This Healthy Oat Apple Crisp recipe? It brings me right back to those autumn afternoons at my grandma’s house. The air would just hum with the smell of cinnamon and baking apples, and honestly, I’d try to “help” but mostly just make a glorious mess. I remember one time, I was so focused on stirring the apples, I completely forgot about the sugar. Oops! Grandma just laughed and added it in, telling me that the best dishes always have a little bit of unexpected love or forgotten ingredients in them.
I once tried to make this crisp while simultaneously trying to teach my cat to fetch (spoiler: it didn’t work). I ended up with oats on the ceiling and a slightly lopsided crisp, but you know what? It still tasted incredible. The beauty of this dish is its forgiving nature. Even if your apples aren’t perfectly sliced, or your topping crumbles a bit unevenly, the flavors always come together beautifully. It’s a reminder that cooking is about joy, not perfection.

Ingredients
- Apples (6 medium, like Honeycrisp or Granny Smith): These are the stars, obviously! Honeycrisp gives a lovely sweet-tart balance, while Granny Smiths add a zesty tang. Honestly, don’t use mushy Red Delicious, you want apples that hold their shape and offer a bit of bite after baking.
- Old-Fashioned Rolled Oats (1 cup): These give our crisp that satisfying chew and rustic texture. To be real, instant oats just won’t cut it here, they get too soggy. We want that hearty, toothsome crunch!
- Whole Wheat Flour (1/2 cup): I usually reach for whole wheat to add a little extra fiber and a nutty depth, but all-purpose works just fine too. I tried almond flour once, and it worked… kinda, but the texture was a bit different.
- Maple Syrup (1/4 cup): My preferred natural sweetener for the filling. It brings a lovely warmth and depth that sugar sometimes misses. You could use honey, but I find maple syrup pairs so well with apples.
- Light Brown Sugar (1/2 cup): For that classic caramel-y sweetness in the topping. Honestly, a little more or less depending on your sweet tooth is fine, I’ve definitely added an extra tablespoon on a gloomy day.
- Unsalted Butter (1/2 cup, cold, diced): Crucial for that crumbly, tender crisp topping. Cold butter is key here, don’t let it get soft! I once used melted butter and it just turned into a sad, greasy mess.
- Cinnamon (1 tsp): The quintessential apple spice! It just smells like home, doesn’t it? I usually add a generous pinch more than the recipe says, because for me, there’s no such thing as too much cinnamon.
- Nutmeg (1/4 tsp): A little whisper of nutmeg really elevates the cinnamon, adding a warm, complex note. Freshly grated is honestly a game-changer if you have it.
- Lemon Juice (1 tbsp): Brightens up the apple filling and keeps the apples from browning. It’s like a secret weapon for fresh flavor, I never skip it.
Instructions
- Prep the Apples:
- First things first, peel, core, and slice your apples into roughly 1/2-inch pieces. I find that uniform slices help them cook evenly, though honestly, I’ve had plenty of batches where my slices were all over the place, and it still tasted great! Just toss them into a large bowl as you go. This step always makes my kitchen smell like fall, even if it’s the middle of summer. I once forgot to core one apple, and let’s just say, finding that surprise in a bite was… memorable.
- Mix the Apple Filling:
- To the sliced apples, add the maple syrup, lemon juice, 1/2 teaspoon of cinnamon, and a pinch of nutmeg. Give it all a good stir until the apples are nicely coated. This is where the magic starts to happen, those flavors really cling to the fruit. I didn’t expect the lemon juice to make such a difference when I first started making this, but it truly brightens everything up. Make sure every apple slice gets some love here, you want that flavor infused throughout.
- Crafting the Healthy Oat Apple Crisp Topping:
- In a separate medium bowl, combine the old-fashioned rolled oats, whole wheat flour, light brown sugar, remaining 1/2 teaspoon of cinnamon, and the rest of the nutmeg. Whisk these dry ingredients together. Now, add your cold, diced butter. Use your fingertips or a pastry blender to cut the butter into the dry ingredients until it resembles coarse crumbs. Honestly, this is where I get my hands messy, it’s part of the fun! Don’t overmix, we want those delightful little buttery clumps for crunch.
- Assemble Your Healthy Oat Apple Crisp:
- Pour the apple filling into an 8×8 inch baking dish, spreading it out evenly. Then, generously sprinkle the oat crisp topping all over the apples. Try to get an even layer, but honestly, a few bare spots or extra-chunky bits just add to the rustic charm. I once piled too much topping in one spot and it took forever to crisp up, so try to spread the love!
- Bake to Golden Perfection:
- Pop your dish into a preheated oven at 375°F (190°C) and bake for 35-45 minutes. You’re looking for a beautiful golden-brown topping and bubbling apple juices around the edges. This is the hardest part for me waiting! The smell that fills your kitchen at this stage is absolutely heavenly, trust me. You’ll hear the gentle sizzle, and that’s your cue that deliciousness is happening.
- Serve Warm and Enjoy Your Healthy Oat Apple Crisp:
- Once it’s beautifully baked, pull it out of the oven and let it cool for about 10-15 minutes. This lets the filling set a bit and prevents you from burning your tongue (ask me how I know!). Serve it warm, perhaps with a dollop of Greek yogurt or a small scoop of vanilla bean ice cream. That crunchy topping and tender, sweet apples? It’s pure bliss.
Making this crisp always feels like a little victory in my kitchen. I remember one time, the oven decided to be temperamental, and I thought for sure it was ruined. But a little extra time and a foil tent later, it emerged perfectly golden. It’s those small moments of kitchen chaos that make the final result even sweeter, honestly. This recipe is more than just ingredients, it’s a feeling of warmth and home.
Storage Tips for Healthy Oat Apple Crisp
Okay, so you’ve got leftovers of this glorious Healthy Oat Apple Crisp? Lucky you! Once it’s completely cooled, just cover the baking dish tightly with plastic wrap or foil and pop it in the fridge. It’ll keep beautifully for about 3-4 days. Honestly, I’ve eaten it cold straight from the fridge for breakfast, and it’s surprisingly good the topping gets a little softer, but the flavors meld wonderfully. Reheating is easy, a quick zap in the microwave works, but if you want that crisp topping to regain some crunch, a few minutes in a preheated oven (around 300°F/150°C) is ideal. I microwaved it once and the sauce separated a bit, so don’t do that if you want that perfect texture, lol.

Ingredient Substitutions for Healthy Oat Apple Crisp
Life happens, and sometimes you don’t have exactly what the recipe calls for, right? For the apples, I’ve successfully swapped in pears before, and honestly, it worked… kinda! It was a different vibe, a bit softer, but still delicious. If you don’t have whole wheat flour, regular all-purpose flour is totally fine. For the sweetener, honey can stand in for maple syrup, though it imparts a slightly different flavor profile. I even tried coconut sugar in the topping once, and it gave a lovely caramel note. If you’re out of butter, a solid plant-based butter alternative often works surprisingly well for the crisp topping, keeping this Healthy Oat Apple Crisp adaptable for different dietary needs. Don’t be afraid to experiment a little!
Serving Suggestions for Healthy Oat Apple Crisp
This Healthy Oat Apple Crisp is a star on its own, but oh, the possibilities! For a wholesome breakfast, I love it with a big dollop of plain Greek yogurt and maybe a sprinkle of chopped nuts. For dessert, a scoop of good quality vanilla bean ice cream is non-negotiable in my house the contrast of warm crisp and cold ice cream is just chef’s kiss. Sometimes, if I’m feeling fancy, a drizzle of warm caramel sauce elevates it further. And honestly, this dish and a rom-com on a chilly evening? Yes please! It’s also surprisingly lovely with a cup of robust black tea or a warm mug of spiced cider.
Cultural Backstory of Apple Crisps
You know, apple crisps have this lovely, humble history that just resonates with me. They’re a classic American dessert, often considered a simpler cousin to the pie, especially popular during wartime when ingredients for pie crusts were scarce. People just got creative with oats and butter! It’s that resourceful, home-cooked spirit that makes this dish so special to me. It reminds me of generations of home cooks finding comfort and joy in simple, seasonal ingredients. It’s not about fancy techniques, it’s about honest flavors and nourishing those you love. That connection to tradition, but with a healthier twist, is why it’s a staple in my kitchen.
Honestly, every time I pull this Healthy Oat Apple Crisp from the oven, I get that little flutter of joy. It’s more than just a dessert, it’s a warm memory, a simple pleasure, and a reminder that good food doesn’t have to be complicated. It’s the kind of dish that makes your house feel like a home. I hope you love making and sharing this just as much as I do. Don’t forget to tell me your own kitchen adventures with it!

Frequently Asked Questions
- → Can I use other fruits in this crisp?
Oh, absolutely! I’ve played around with adding berries, sliced peaches, or even pears. Pears work really well, though they might get a bit softer. Just adjust the sweetness if your fruit is extra tart or sweet, it’s all about experimenting!
- → How can I make this Healthy Oat Apple Crisp gluten-free?
Good question! You can easily swap the whole wheat flour for a gluten-free all-purpose blend. Just make sure your oats are certified gluten-free, as some can have cross-contamination. I’ve done it, and honestly, the texture is still fantastic!
- → My crisp topping isn’t getting crunchy. What went wrong?
Hmm, that happens sometimes! It could be that your butter wasn’t cold enough, or maybe the oven wasn’t quite hot enough. Ensure you’re cutting the butter in properly, and try placing it higher in the oven next time. A quick minute under the broiler at the end can save it!
- → How long does this apple crisp last in the fridge?
Once cooled and covered, it’s good for about 3-4 days in the fridge. The topping might soften a little, but the flavors deepen beautifully. Honestly, I’ve snuck a spoonful or two on day 5 and it was still delicious, but best to enjoy it sooner!
- → Can I prepare this Healthy Oat Apple Crisp ahead of time?
You sure can! I often prep the apple filling and the crisp topping separately. Store the apples covered in the fridge, and the topping in an airtight container in the fridge or freezer. Assemble and bake when you’re ready, it’s a lifesaver for busy days!

Tender Healthy Oat Apple Crisp: A Warm, Sweet Delight
- Prep Time: 20 Minutes
- Cook Time: 40 Minutes
- Total Time: 60 Minutes
- Yield: 6 Servings 1x
- Category: Dinner Recipes
Description
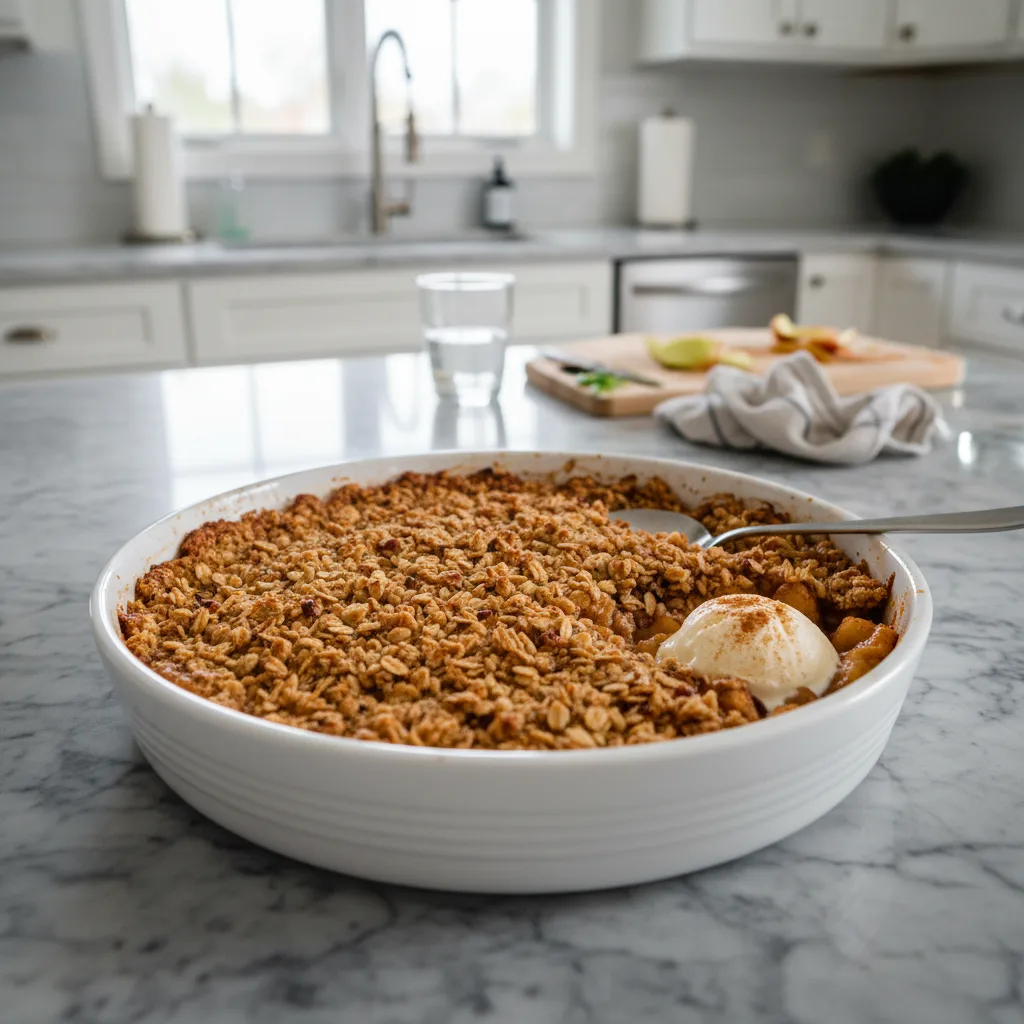
Tender apples baked under a crunchy, wholesome oat topping. This Healthy Oat Apple Crisp is a sweet, comforting treat perfect for any day.
Ingredients
- Apple Filling:
- 6 medium Apples (Honeycrisp or Granny Smith), peeled, cored, and sliced
- 1/4 cup Maple Syrup
- 1 tbsp Lemon Juice
- 1/2 tsp Ground Cinnamon
- Pinch Ground Nutmeg
- Oat Crisp Topping:
- 1 cup Old-Fashioned Rolled Oats
- 1/2 cup Whole Wheat Flour
- 1/2 cup Light Brown Sugar
- 1/2 tsp Ground Cinnamon
- 1/4 tsp Ground Nutmeg
- 1/2 cup Unsalted Butter, cold and diced
- Serving Suggestions:
- Greek yogurt (optional)
- Vanilla bean ice cream (optional)
- Chopped nuts (optional)
Instructions
- Prep the Apples:: First things first, peel, core, and slice your apples into roughly 1/2-inch pieces. I find that uniform slices help them cook evenly, though honestly, I’ve had plenty of batches where my slices were all over the place, and it still tasted great! Just toss them into a large bowl as you go. This step always makes my kitchen smell like fall, even if it’s the middle of summer. I once forgot to core one apple, and let’s just say, finding that surprise in a bite was… memorable.
- Mix the Apple Filling:: To the sliced apples, add the maple syrup, lemon juice, 1/2 teaspoon of cinnamon, and a pinch of nutmeg. Give it all a good stir until the apples are nicely coated. This is where the magic starts to happen; those flavors really cling to the fruit. I didn’t expect the lemon juice to make such a difference when I first started making this, but it truly brightens everything up. Make sure every apple slice gets some love here; you want that flavor infused throughout.
- Crafting the Healthy Oat Apple Crisp Topping:: In a separate medium bowl, combine the old-fashioned rolled oats, whole wheat flour, light brown sugar, remaining 1/2 teaspoon of cinnamon, and the rest of the nutmeg. Whisk these dry ingredients together. Now, add your cold, diced butter. Use your fingertips or a pastry blender to cut the butter into the dry ingredients until it resembles coarse crumbs. Honestly, this is where I get my hands messy; it’s part of the fun! Don’t overmix; we want those delightful little buttery clumps for crunch.
- Assemble Your Healthy Oat Apple Crisp:: Pour the apple filling into an 8×8 inch baking dish, spreading it out evenly. Then, generously sprinkle the oat crisp topping all over the apples. Try to get an even layer, but honestly, a few bare spots or extra-chunky bits just add to the rustic charm. I once piled too much topping in one spot and it took forever to crisp up, so try to spread the love!
- Bake to Golden Perfection:: Pop your dish into a preheated oven at 375°F (190°C) and bake for 35-45 minutes. You’re looking for a beautiful golden-brown topping and bubbling apple juices around the edges. This is the hardest part for me – waiting! The smell that fills your kitchen at this stage is absolutely heavenly, trust me. You’ll hear the gentle sizzle, and that’s your cue that deliciousness is happening.
- Serve Warm and Enjoy Your Healthy Oat Apple Crisp:: Once it’s beautifully baked, pull it out of the oven and let it cool for about 10-15 minutes. This lets the filling set a bit and prevents you from burning your tongue (ask me how I know!). Serve it warm, perhaps with a dollop of Greek yogurt or a small scoop of vanilla bean ice cream. That crunchy topping and tender, sweet apples? It’s pure bliss.


