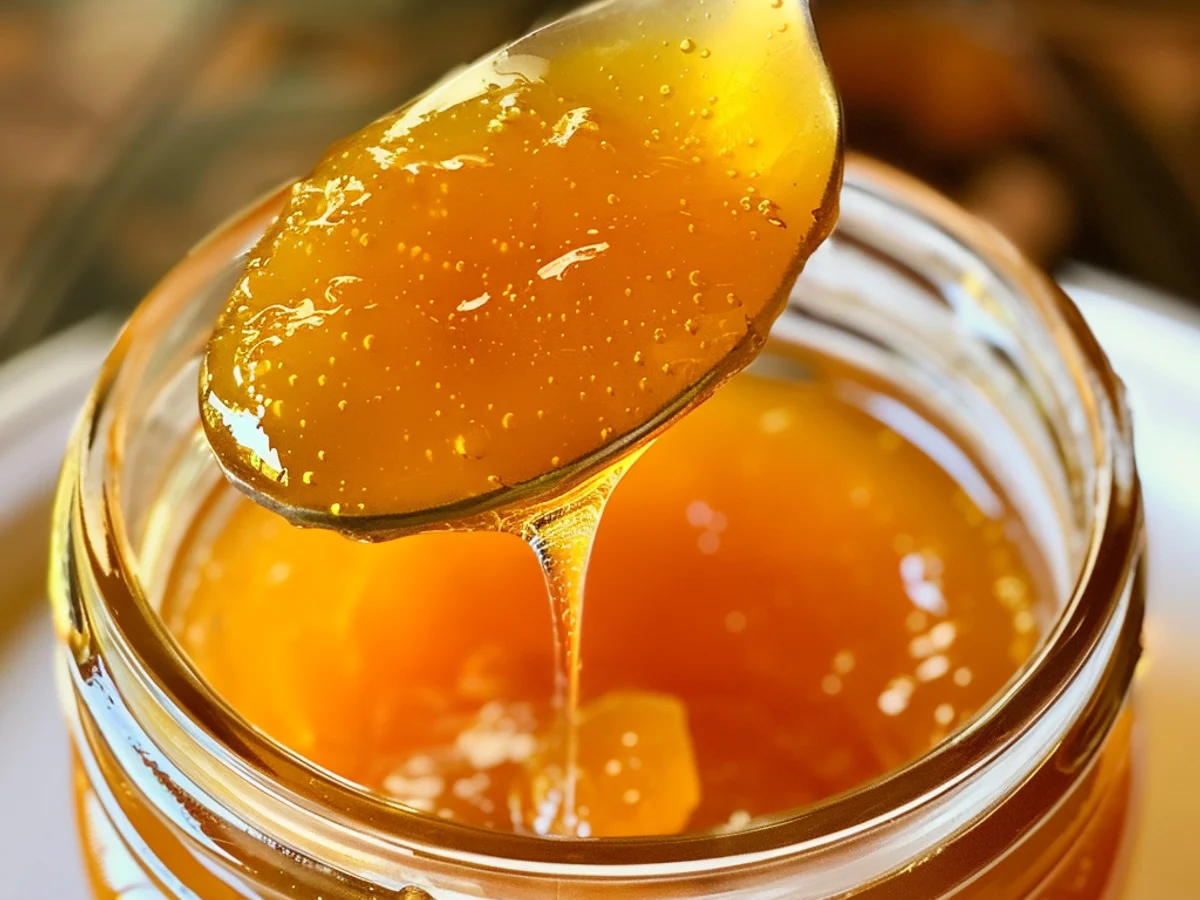
Introduction to homemade apricot jam being spooned into a jar
As a passionate home cook, there’s something incredibly satisfying about the ritual of making homemade apricot jam being spooned into a jar. The moment you scoop that vibrant, golden-hued jam into a glass jar, you can practically taste the sun-drenched summer days captured within each spoonful. It’s a delightful experience that fills the kitchen with the sweet aroma of ripe apricots simmering on the stove, transforming simple ingredients into a luscious treat.
Every time I make this homemade apricot jam, it feels like a celebration of flavors. The sweet and tangy notes of the apricots mingling with just the right amount of sugar create a symphony for the senses. Plus, the bright color of the jam is just irresistible, making it not just a spread, but a canvas for creativity. From breakfast toast to dessert toppings, this jam is versatile and brings a homemade touch to any dish.

What I love most about making homemade apricot jam is the connection it fosters, whether I’m sharing jars with friends or just enjoying them myself. Each spoonful reminds me of the care and love that went into making it. It’s a wonderful way to preserve the fleeting summer season, allowing you to enjoy in the taste of apricots long after they’ve gone out of season. So, let’s dive into this delightful process of creating your own batch of homemade apricot jam being spooned into a jar!
Why You’ll Love This homemade apricot jam being spooned into a jar
One of the many reasons you’ll love this homemade apricot jam being spooned into a jar is the delightful fragrance that fills your kitchen as the apricots simmer with sugar. There’s something magical about transforming fresh, sun-kissed apricots into a sweet, golden spread that evokes memories of summer days. The aroma alone is enough to make your mouth water!
Additionally, making your own jam is incredibly rewarding. Not only is it straightforward, but it also allows you to control the sweetness and flavor profiles. Unlike store-bought options loaded with preservatives, this homemade apricot jam being spooned into a jar is crafted with love and care, ensuring that each spoonful bursts with authentic fruit flavor. You’ll feel proud as you see the vibrant jars lining your pantry, a testament to your culinary skills.
Moreover, this jam is a versatile delight. Spread it on warm, buttery toast for breakfast, dollop it on yogurt for a refreshing snack, or even use it as a filling for pastries. The possibilities are endless, and each bite is a little piece of joy. Friends and family will rave about your creation, and you’ll enjoy sharing it with them, knowing you’ve made something special.
Finally, the process is a nice escape from the hustle and bustle of daily life. It’s a moment to unwind, to savor the simple act of cooking. So, gather your ingredients, and let’s dive into making this homemade apricot jam being spooned into a jar. Trust me, you’ll be glad you did!
Ingredients for homemade apricot jam being spooned into a jar
Making my homemade apricot jam being spooned into a jar is an absolute delight, and it all begins with selecting the right ingredients. Each component plays a crucial role in creating that excellent blend of sweetness and tartness. Here’s what you’ll need to gather for this luscious treat.
- Fresh apricots: The star of the show! Look for ripe, fragrant apricots with a slight give when you press them gently. Their vibrant orange hue and juicy flesh create a beautifully rich jam.
- Sugar: This is essential for sweetness and also acts as a preservative. You can use granulated sugar, but if you prefer a more natural option, consider using honey or agave syrup for a unique flavor twist.
- Lemon juice: Freshly squeezed lemon juice adds a bright acidity that balances the sweetness of the apricots. It also helps the jam set by providing natural pectin.
- Pectin: While apricots contain natural pectin, adding a little extra can ensure your jam thickens beautifully. You can find both liquid and powdered pectin at your local grocery store.
- Butter: A small pat of butter can help reduce foaming during the cooking process. It’s optional, but I find it adds a lovely richness to the final product.
- Optional spices: For a personal touch, consider adding a pinch of cinnamon or vanilla extract. These can elevate the flavor profile of your homemade apricot jam being spooned into a jar.
Once you have these ingredients prepped, you’re ready to dive into the wonderful world of jam-making. The aroma of simmering apricots and sugar is just irresistible, and you’ll soon find yourself dreaming of spreading this golden goodness on toast or drizzling it over desserts. Trust me, the effort is well worth it!
How to Make homemade apricot jam being spooned into a jar
To begin my journey of making homemade apricot jam being spooned into a jar, I start by preparing my apricots. I rinse them under cool, running water to remove any dirt or impurities. Then, I cut each fruit in half, remove the pit, and chop them into small pieces. This ensures a delightful texture in my jam.
Next, I place these chopped apricots into a large, heavy-bottomed pot. This is where the magic happens! I add granulated sugar to the pot, as the sweetness of the sugar perfectly balances the tartness of the apricots. The sugar not only enhances the flavor but also helps in the gelling process.
After that, I squeeze in some lemon juice. The acidity from the lemon not only brightens the flavor of my homemade apricot jam but also aids in preserving the vibrant color. I let this mixture sit for about 30 minutes, allowing the sugar to dissolve and the juices to flow.
Once the mixture has rested, I place the pot over medium heat. I stir occasionally, letting the apricots cook down and release their natural juices. The aroma fills my kitchen, creating a warm and inviting atmosphere. As it simmers, I keep an eye on the consistency, waiting for it to thicken.
When the mixture reaches a rolling boil, I reduce the heat slightly and continue cooking for about 10-15 minutes. During this time, I make sure to skim off any foam that rises to the surface. This step is crucial for achieving a clear, beautiful jam.
To test if my jam is ready, I grab a cold spoon from the freezer and drop a small amount of the mixture onto it. If it thickens up nicely and passes the “plate test,” where it holds its shape, it’s time to spoon my homemade apricot jam into jars!
I carefully ladle the hot jam into sterilized jars, filling them to within a quarter of an inch from the top. It’s important to work quickly but carefully during this step to avoid burns! After filling, I wipe the rims of the jars with a clean cloth to ensure a proper seal.
Finally, I screw on the lids tightly and place the jars in a water bath for about 10 minutes to seal. The sound of the lids popping as they cool is music to my ears! Once cool, I store my homemade apricot jam in a cool, dark place, eagerly awaiting the day I can enjoy it on warm toast or as a gift to friends and family.
Tips for Success
Making homemade apricot jam being spooned into a jar can be a rewarding experience, but a few helpful tips can ensure your jam turns out perfectly each time. With years of making this delightful spread, I’ve compiled some essential pointers that will elevate your jam-making game.
- Choose ripe apricots: Select apricots that are fragrant and slightly soft to the touch. Their natural sweetness will enhance the flavor of your homemade apricot jam being spooned into a jar.
- Measure accurately: Precision is key when making jam. Use a kitchen scale for the best results, especially for sugar and fruit ratios.
- Use a heavy-bottomed pot: This helps distribute heat evenly, preventing the jam from scorching as it cooks.
- Keep everything sterile: Sterilize your jars and lids before filling them with the hot jam. This ensures a longer shelf life and prevents spoilage.
- Test for doneness: Use the plate test by placing a spoonful of jam on a cold plate. If it holds its shape after a minute, it’s ready to be spooned into jars.
- Don’t rush the cooling: Let your jars cool completely at room temperature. This helps create a vacuum seal, preserving the freshness of your homemade apricot jam.
- Label and date your jars: Always mark your jars with the date you made them. This way, you can enjoy your homemade apricot jam being spooned into a jar at its best.
By following these tips, you’ll elevate your homemade apricot jam to new heights, ensuring each spoonful is bursting with flavor and nostalgia. Happy jam-making!
Equipment Needed
When making homemade apricot jam being spooned into a jar, having the right equipment is crucial for achieving that excellent consistency and flavor. Over the years, I’ve gathered a few essential tools that make the process not only easier but also more enjoyable. Here’s what you’ll need:
- Large Pot: A heavy-bottomed pot is ideal for even heat distribution. Alternatively, you can use a Dutch oven.
- Jar Lifter: This handy tool allows you to safely remove hot jars from boiling water. If you don’t have one, a pair of tongs can work in a pinch.
- Wooden Spoon: Use this for stirring the jam as it cooks. A silicone spatula can also be useful for scraping down the sides.
- Funnel: A canning funnel helps to prevent spills when pouring the jam into jars. If you don’t have one, you can fashion a funnel from a clean plastic bottle.
- Measuring Cups and Spoons: Accurate measurements are key for the excellent batch of homemade apricot jam being spooned into a jar.
- Food Thermometer: This ensures that your jam reaches the correct temperature for safe canning. A candy thermometer works well, too.
- Canning Jars with Lids: Choose sterilized jars suitable for canning. Reused jars from store-bought products can also be a great alternative, as long as they are in good condition.
With these tools at your disposal, you’ll find that the process of making homemade apricot jam being spooned into a jar becomes a delightful experience. Each piece of equipment plays a role in creating that luscious, golden spread that captures the essence of summer.
Variations
When it comes to homemade apricot jam being spooned into a jar, the possibilities are truly endless! After making this delightful jam time and again, I’ve experimented with various twists that elevate the flavor profile while catering to different dietary preferences. Here are some variations you might want to try:
- Add spices: Incorporate a pinch of cinnamon or ginger to bring warmth and depth to your homemade apricot jam. These spices harmonize beautifully with the natural sweetness of the apricots.
- Mix in other fruits: Combine apricots with peaches, mangoes, or even berries for a vibrant medley of flavors. Each fruit adds its own unique character, making your homemade apricot jam even more exciting.
- Experiment with herbs: If you’re feeling adventurous, try adding fresh herbs like thyme or rosemary during the cooking process. The subtle herby notes can create an unexpected yet delightful twist in your jam.
- Reduce sugar: For a healthier option, you can cut down on the sugar or substitute it with honey or maple syrup. Just keep in mind that this may alter the texture slightly, but it will still yield a deliciously sweet spread.
- Go for a savory jam: Consider adding a splash of balsamic vinegar or a pinch of chili flakes for a savory variant. This can be a great accompaniment for cheese platters.
- Use different sweeteners: If you’re following a low-carb lifestyle, try using stevia or erythritol in place of traditional sugar. This way, you can enjoy your homemade apricot jam without the guilt!
These variations not only make the homemade apricot jam being spooned into a jar unique but also allow you to tailor it to your taste and dietary needs. Each batch becomes a personal creation, brimming with flavors that tell your culinary story!
Print

Homemade Apricot Jam: A Sweet Delight Awaits You!
- Prep Time: 30 minutes
- Cook Time: 15 minutes
- Total Time: 45 minutes
- Yield: 4 cups 1x
- Category: Preserves
- Cuisine: American
Description
Delicious homemade apricot jam, perfect for spreading on toast or using in desserts.
Ingredients
- 2 pounds fresh apricots, pitted and chopped
- 1 1/2 cups granulated sugar
- 1/4 cup lemon juice
- 1/2 teaspoon vanilla extract
- 1 packet fruit pectin (pectin for low-sugar recipes, if desired)
Instructions
- Wash the apricots thoroughly and remove the pits. Chop the apricots into small pieces.
- In a large pot, combine the chopped apricots, granulated sugar, and lemon juice. Stir well to combine.
- Let the mixture sit for about 30 minutes to allow the juices to release from the apricots.
- Place the pot over medium heat and bring the mixture to a boil, stirring constantly.
- Once boiling, add the vanilla extract and the fruit pectin (if using), and continue to boil for 10-15 minutes, or until the jam thickens.
- To test for doneness, place a spoonful of jam on a cold plate and run your finger through it; if it holds its shape, it’s ready.
- Remove the pot from heat and let it cool slightly before pouring it into sterilized jars.
- Seal the jars tightly and let them cool completely at room temperature before refrigerating or processing for long-term storage.
Notes
- For a smoother jam, blend the apricots before cooking.
- Feel free to add spices like cinnamon or nutmeg for extra flavor.
- This jam can be stored in the refrigerator for up to 3 weeks or processed for longer shelf life.
Nutrition
- Serving Size: 1 tablespoon
- Calories: 50
- Sugar: 12g
- Sodium: 0mg
- Fat: 0g
- Saturated Fat: 0g
- Carbohydrates: 13g
- Fiber: 0g
- Protein: 0g
- Cholesterol: 0mg


